A pv dc isolator lockout decision should separate two things: whether the selected DC isolator route offers a lockable OFF interface, and how the site controls hazardous energy during inverter maintenance. The device can support a lockout point only when the exact model, mounting method, operator, enclosure and documentation match the buyer’s application.
Confirm the lockable device route first: voltage/current, pole or string arrangement, mounting, enclosure and operator format.
Keep the employer’s lockout/tagout procedure separate: verification steps, authorized persons, stored-energy checks and site labels are not validated by choosing a component.
Request drawings, datasheets and any required certificates or markings before releasing the PV combiner, inverter cabinet or field enclosure design.
Device lockability is not the lockout procedure
Direct answer: Treat pv dc isolator lockout as a component-selection issue that supports, but does not replace, the site energy-control procedure.
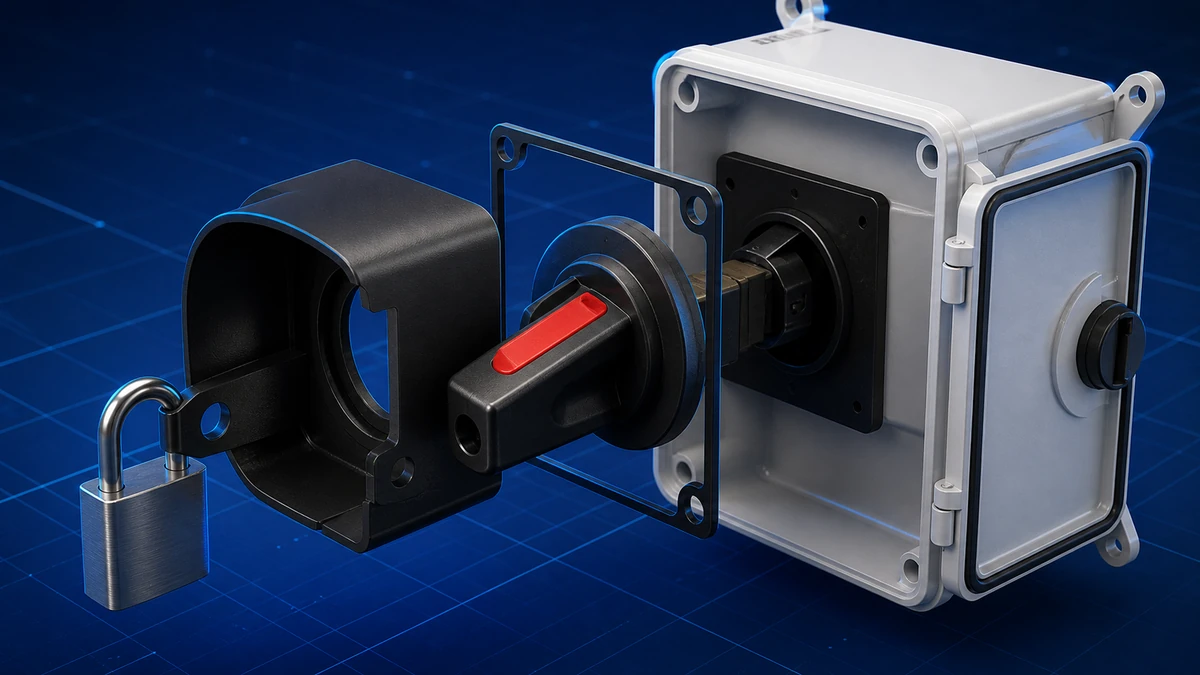
The lockable isolator route is a hardware decision. It asks whether the selected switch and operator can be secured in the OFF position in the intended assembly, with the required mounting, enclosure and labeling space.
The hazardous-energy control procedure is a site safety-program decision. It defines who performs the work, how the PV DC source is isolated, how absence of hazardous energy is verified, how tags are managed and how equipment is returned to service.
An exact drawing identifies the interfaces that must be controlled for the approved model route.
O OSHA lockout/tagout guidance presents lockout/tagout as hazardous-energy control guidance; this isolator component discussion must not replace the employer’s procedure or risk assessment.
What the component can support
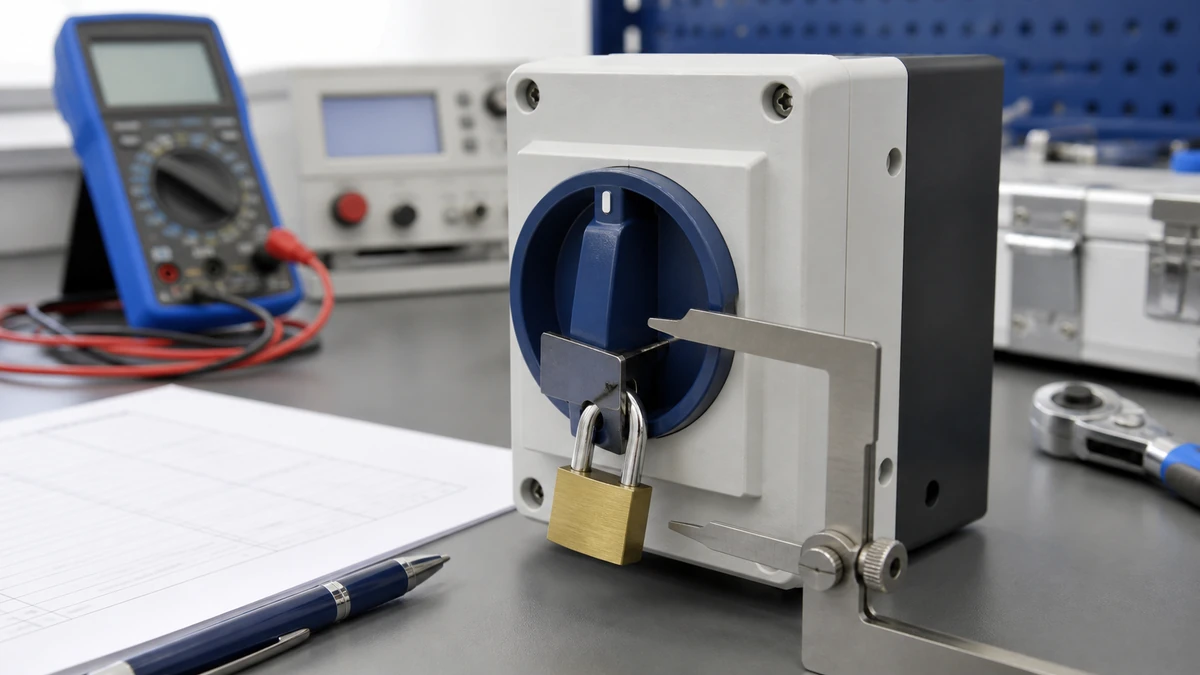
A lockable PV DC isolator switch route can provide a physical OFF-position interface for the assembly design, if that feature is confirmed for the exact model and operator. The buyer should verify the number of padlocks, handle position behavior, shaft or door-coupling arrangement and label visibility from current documentation.
Do not use the isolator selection step to make assumptions about the complete maintenance process. The component route does not define test instruments, work sequencing, authorized personnel or release from lockout.
What the site procedure must define
The site procedure should define the energy-control boundary around the inverter, PV strings, DC input circuits and any other stored or backfed energy sources. It should also define the sequence for opening, locking, tagging, verifying and restoring.
For OEMs and panel builders, the commercial boundary is important. You can supply a lockable device interface in the assembly, but the employer or system owner remains responsible for the procedure and risk assessment used at the installed site.
Buyer question
Device route answer
Procedure boundary
Can the OFF position be locked?
Confirm by exact switch, operator and drawing.
Procedure defines who applies the lock and tag.
Is the isolator visible and accessible?
Confirm by enclosure layout and mounting.
Procedure defines access control and work area rules.
Are labels and markings available?
Confirm label space, markings and documentation.
Procedure defines site language, warnings and tag content.
Is maintenance energy controlled?
Device may support isolation point selection.
Procedure verifies hazardous-energy control and release.
Decide where the lockable isolation point belongs
Direct answer: Choose the pv dc isolator lockout location before selecting the switch route, because cabinet layout and maintenance access drive the mechanical interface.
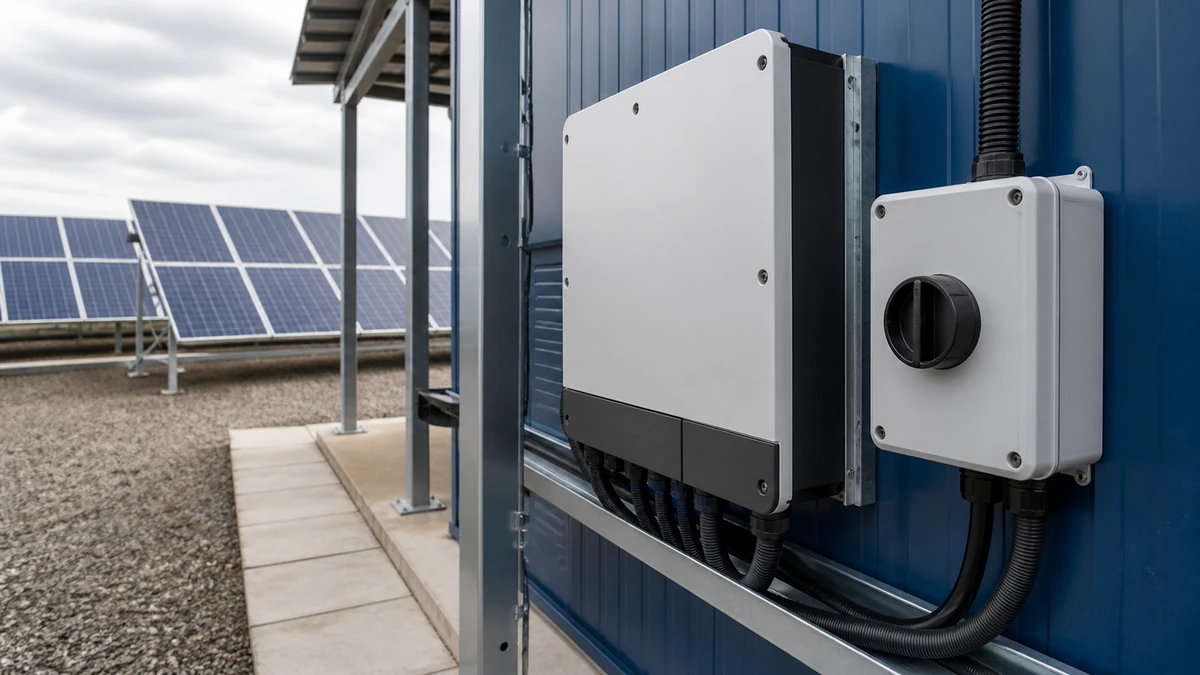
Inverter maintenance normally involves a defined access point: an inverter input compartment, a combiner output, a DC disconnect enclosure or an OEM cabinet. The lockable device should be positioned where the intended maintenance workflow can actually use it.
A lockable operator hidden behind another locked door may not meet the buyer’s intended service concept. Conversely, a door-mounted handle may need a shaft, interlock concept, enclosure cutout and label space that must be considered before the bill of materials is frozen.
Sample review should connect the exact item to its current drawing and requested evidence package.
Typical device locations
Common evaluation points include the inverter DC input side, string combiner outputs, PV DC cabinet entrances and external isolator enclosures. The correct location depends on the buyer’s architecture, not on a generic article statement.
For each location, confirm the maximum DC voltage, current, switching configuration and conductor routing from the project electrical design. Exact product suitability remains model- and documentation-dependent.
Route the lockout point before choosing the model
Use the maintenance route to decide whether the operator should be inside the enclosure, on the door or on an external housing. This also affects cable entry, shaft length, handle clearance and whether the lock can be applied without exposing the worker to another compartment.
Practical buyer checklist:
Mark the intended maintenance boundary on the PV DC schematic.
Identify the physical location where the technician is expected to apply the lock.
Confirm whether the operator must be reachable with the enclosure door closed.
Check available panel depth, door swing, handle clearance and label space.
Confirm whether the same assembly is supplied to one destination market or multiple markets.
Request the exact model drawing before cutting metal or releasing enclosure tooling.
Select the PV DC isolator switch route by application evidence
Direct answer: Start with the switch family route, then narrow to an exact model only after the electrical, mechanical and documentation inputs are known.
A buyer may begin with the Faixa de chave do isolador PV DC to understand available routes. That range-level review should not be treated as final application approval, because exact suitability depends on the selected model, configuration, enclosure and buyer application.
Model-route comparison
Use the route pages as starting points for engineering review, not as a replacement for project documentation. The table below helps procurement and engineering teams decide what to ask for during commercial investigation.
When the buyer wants to compare this solar DC switch route for a defined PV DC assembly.
Exact drawing, datasheet, current product status, certificates or markings requested by the buyer.
When to move from range review to exact model
Move from range review to model selection when the buyer can provide maximum DC voltage, maximum current, string or pole arrangement, ambient and enclosure information. Without those inputs, the quotation can only remain preliminary.
Procurement teams should avoid specifying only “lockable PV DC isolator” in an RFQ. Include the required electrical values, mounting method, operator format and documentation expectations so the supplier can confirm a practical route.
Specify the lockable operator and OFF-position interface
Direct answer: The lockout-relevant feature is the confirmed OFF-position locking interface, not the generic presence of a handle.
The lockable function must be checked on the exact operator arrangement. Door-coupled handles, direct-mounted handles and enclosed-device options may have different installation requirements and different drawing details.
Installation conditions change the product-route and document questions a buyer must resolve.
Padlockable OFF interface
Confirm whether the selected operator is intended to accept a padlock in the OFF position, and under what mechanical arrangement. Ask for the drawing or installation instruction that shows the relevant handle, shaft, mounting depth and clearance.
Do not assume that a lockable handle confirms the complete energy-control outcome. It only supports the physical step of securing the selected isolation point, if the rest of the installation and procedure are correctly defined by the buyer and site owner.
Lockout interface review checklist:
OFF-position locking feature shown in the current drawing or datasheet.
Padlock hole position and access confirmed for the enclosure layout.
Door, shaft or direct-mount arrangement confirmed before panel cutout.
Handle clearance checked against adjacent devices and enclosure edge.
Label space reserved for device identification and site lockout tags.
Maintenance access confirmed without relying on a hidden or obstructed control.
Handle color, labels and emergency-stop caution
Handle color and labeling should follow the buyer’s project requirements and destination-market expectations. Any marking or color convention should be confirmed through drawings, documentation and the buyer’s specification.
If a buyer requests an emergency-stop style operator or red/yellow appearance, that selection does not validate a complete machine safety function. A machine safety function requires its own risk assessment, architecture, validation and applicable documentation beyond the selection of an isolator operator.
Confirm mounting, enclosure and cable-entry constraints
Direct answer: A lockable PV DC isolator route is only commercially useful if the mounting and enclosure details fit the assembly that the buyer will build.
Mechanical fit can be the deciding factor between two otherwise similar routes. Door thickness, internal depth, shaft alignment, enclosure sealing concept, cable entry and service clearance can all affect the final selection.
Mounting format
Clarify whether the device is intended for internal mounting, door-coupled operation or a dedicated external enclosure. Each format changes the drawing package needed by the panel builder.
For a door-coupled design, confirm shaft length, handle cutout, alignment tolerance and access for locking. For an internal operator, confirm whether the lock can be applied according to the intended maintenance workflow.
Environmental and cable-entry confirmations
Environmental claims should not be assumed at article level. IP class, enclosure material, gasket arrangement, UV exposure, ambient conditions and cable-entry method are exact-model and enclosure-dependent.
Cable entry also affects serviceability. Confirm gland plate position, bending space, conductor routing and label visibility before releasing enclosure drawings.
Mounting and enclosure action list:
Provide enclosure dimensions, material and door arrangement.
Identify indoor, outdoor, rooftop or other environmental exposure.
Confirm cable-entry direction and available bending space.
Reserve operator and label clearance on the front view.
Request mounting drawings before production drilling or punching.
Confirm any required enclosure-related documentation for the destination market.
Request the documentation package before procurement release
Direct answer: Do not release a purchase decision based only on a product name; request the drawing, datasheet and any required certificate or marking evidence for the exact route.
Documentation is where engineering and procurement meet. The buyer needs enough evidence to confirm the selected route against the electrical design, enclosure layout and destination-market requirements.
O PV DC isolator documentation checklist can be used as a foundation when building the RFQ document package. For this article’s narrower topic, focus on the documents that confirm lockable operator arrangement and application fit.
Drawing and datasheet review
The drawing should identify mounting dimensions, operator arrangement, shaft or handle details, panel cutout information and other interface data required by the builder. The datasheet should be checked against the project’s maximum DC voltage, maximum current and configuration.
Any torque, endurance, temperature, IP or other performance detail must be treated as exact-model documentation, not a generic assumption. If it matters to the buyer’s design, request the current document and quote against that evidence.
Certificates and destination-market markings
Certificates, declarations and markings vary by exact model, configuration and destination market. Ask for the specific certificate or declaration package required for the buyer’s country, customer specification or panel documentation file.
Document request checklist:
Current datasheet for the exact model and configuration.
Dimension drawing for mounting, handle, shaft and cutout.
Operator or accessory documentation showing OFF-position lockability.
Certificate, declaration or marking evidence requested for the destination market.
Installation instruction or wiring-related documentation required by the buyer’s file.
Any revision status needed for project traceability.
How Shieldhz confirms a PV DC isolator switch route
Direct answer: Shieldhz confirms a practical switch route before quotation by matching buyer inputs to current product documentation and the buyer’s stated application.
The confirmation step is not a blanket approval for every PV installation. It is a pre-quotation engineering and commercial check that narrows the route to a documented option suitable for buyer review.
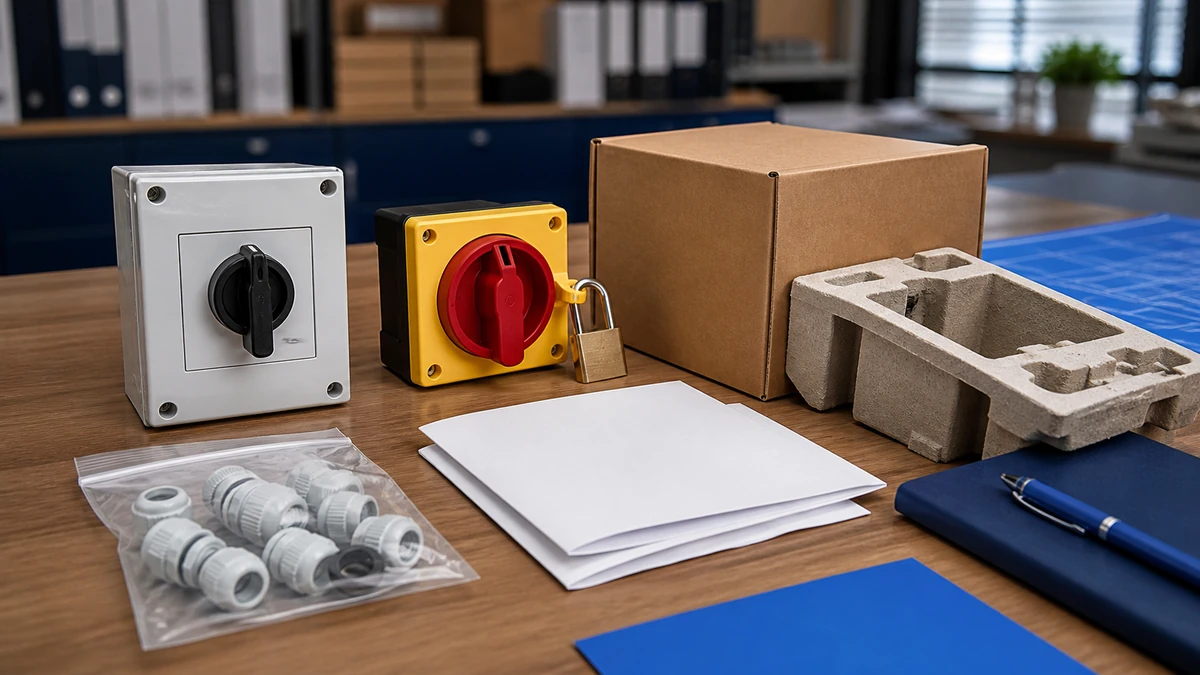
Documentation control, sample acceptance and protective packing are separate handover checks.
Pre-quotation confirmation inputs
Shieldhz typically needs the application and destination market first. The same physical device route may require different documentation or marking discussion depending on where the assembly will be used or sold.
Key inputs include:
Application type, such as inverter input, combiner output, cabinet isolation or external PV DC enclosure.
Destination market and any buyer-required approval or marking.
Maximum DC voltage and maximum current from the electrical design.
String arrangement, pole arrangement or switching configuration.
Enclosure type, environment and expected installation conditions.
Mounting method, operator style, shaft requirement and cable-entry direction.
Requested drawing, datasheet and certificate package.
Any project-specific approval, marking or customer documentation requirement.
Final suitability check
Final suitability is confirmed against current product documentation and the buyer’s application. This includes checking the selected route against the electrical values, mechanical layout, enclosure conditions and requested documentation package.
If a required certificate, marking, rating, IP class or interface detail is not confirmed in the current document set, it should remain open until the exact model evidence is reviewed. This protects both the buyer’s design file and the supplier’s quotation boundary.
Build the RFQ around decisions, not assumptions
Direct answer: The strongest RFQ for pv dc isolator lockout states the required device route, lockable interface and documentation evidence without assigning site lockout responsibility to the component.
A clear RFQ reduces back-and-forth between procurement, engineering and the supplier. It also prevents a generic “lockable isolator” line item from becoming a late-stage enclosure or documentation problem.
RFQ decision table
RFQ item
What to specify
Por que é importante
Aplicativo
Inverter maintenance point, combiner, cabinet or external enclosure.
Defines the device route and access concept.
Electrical values
Maximum DC voltage, maximum current and configuration.
Allows exact model comparison against documentation.
Lockable interface
OFF-position padlocking requirement and operator format.
Supports the intended maintenance access point.
Montagem
Door-coupled, internal, external enclosure or other format.
Drives drawing, cutout and shaft review.
Meio ambiente
Indoor/outdoor exposure, enclosure concept and cable entry.
Affects model and enclosure documentation review.
Documentação
Datasheet, drawing, certificate or marking package.
Supports procurement release and panel documentation.
Boundary statement
Component provides lockable interface only when confirmed.
Keeps site lockout procedure separate from device selection.
Procurement handoff checklist
Before purchase order release, align engineering and procurement on these points:
Exact route and model under quotation.
Current datasheet and drawing received.
Lockable OFF-position operator confirmed by documentation.
Enclosure layout checked against mounting and access requirements.
Destination-market documentation request stated in the RFQ.
Any unresolved approval, marking or certificate issue listed as open.
Site lockout/tagout procedure responsibility kept outside the component quotation.
Conclusion
PV DC isolator lockout is a two-boundary decision. The device route must provide a documented, practical lockable OFF interface for the intended inverter-maintenance access point, while the employer or site owner must define and validate the hazardous-energy control procedure.
For buyers, the commercial path is straightforward: route the lockout point, select the candidate PV DC isolator switch family, confirm the exact model against electrical and mechanical inputs, then request the drawing, datasheet and destination-market documentation before procurement release.
Perguntas frequentes
Is a pv dc isolator lockout the same as a lockout/tagout procedure?
No. The isolator route can provide a lockable OFF-position interface if confirmed for the exact model and operator. The lockout/tagout procedure defines the full hazardous-energy control process and remains the responsibility of the employer or site owner.
Can I specify only “lockable PV DC isolator” in an RFQ?
It is better to provide more detail. Include maximum DC voltage, maximum current, pole or string arrangement, mounting format, enclosure details, operator requirement and documentation request. This allows the supplier to confirm a practical route instead of guessing.
Does a lockable handle prove the inverter is safe to maintain?
No. A lockable handle may support the isolation step, but maintenance safety depends on the complete procedure, risk assessment, verification steps and site conditions. The component discussion should not be used as a safety-program substitute.
What documents should I request before selecting the route?
Request the current datasheet, mounting drawing, operator or accessory details, and any certificate, declaration or marking evidence needed for the destination market. If lockability is important, ask for documentation that shows the OFF-position locking interface.
Should the lockable operator be on the door or inside the enclosure?
That depends on the maintenance workflow and enclosure design. A door-mounted operator may support access with the door closed, but it requires correct shaft, cutout and handle clearance. An internal operator may be suitable only if it matches the buyer’s intended procedure and access concept.
Does choosing a red/yellow operator create an emergency-stop function?
No. Operator color or style alone does not validate a complete machine safety function. Emergency-stop and other safety functions require separate risk assessment, architecture, validation and applicable documentation beyond the isolator operator selection.
Shi, Muxi
Shi, Muxi escreve artigos técnicos da Shieldhz para compradores de controle industrial e componentes elétricos, abrangendo chaves de came rotativas, chaves isoladoras, seccionadores PV DC, botões de pressão, luzes indicadoras, gabinetes à prova d'água e blocos de terminais. Os artigos são baseados na experiência de fabricação e exportação da Zhejiang Shihe Electric Co., Ltd., com ênfase prática na seleção de modelos, planilhas de dados, desenhos, certificações, classificações de IP e detalhes de consulta que os compradores devem confirmar antes de fazer o pedido.