A selector-switch symbol is a drawing instruction, not a picture of the front handle. It tells the reader how contacts change state as an operator moves through defined positions. The panel legend, terminal numbers, contact table, and schematic must all describe the same function. When they do not, the safe response is to stop and reconcile the documents before wiring, commissioning, or replacing the device.
What a selector-switch symbol communicates
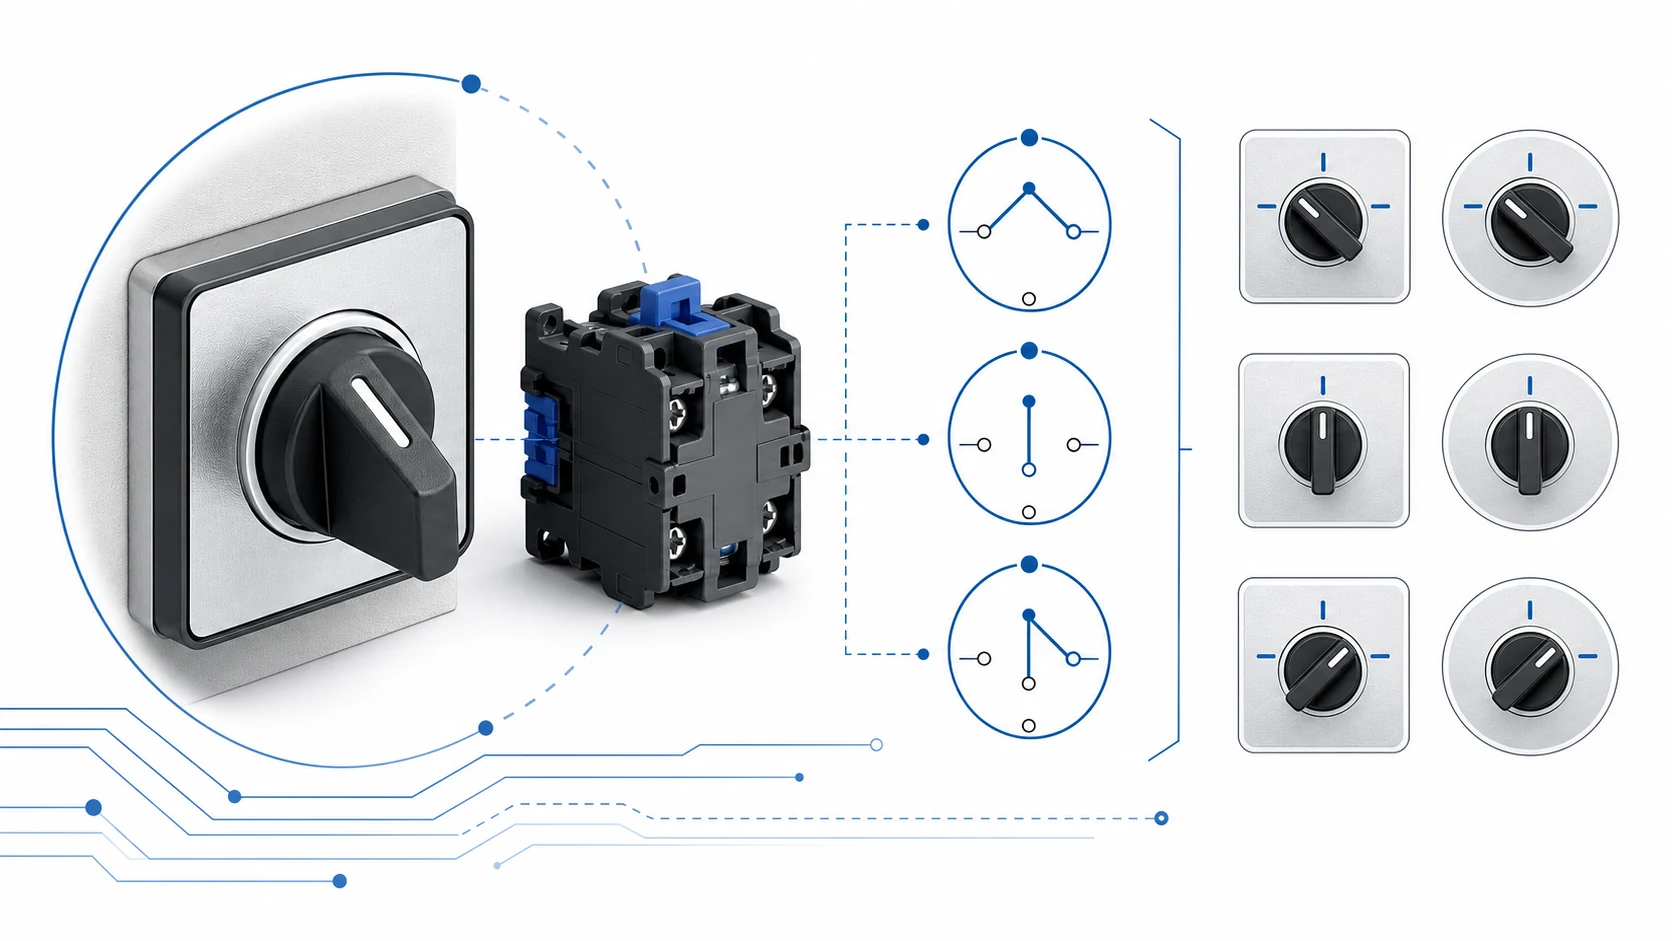
In a control schematic, the symbol normally represents one or more contacts operated by the same selector mechanism. The drawing may show a rotary actuator, position labels, NO or NC contact forms, mechanical association lines, terminal references, and cross-references to other sheets. It does not always show every visual feature of the door operator. A panel builder reads the symbol to understand circuit behaviour, then uses the product drawing to choose the physical operator and contact blocks.
Start with four questions: how many positions exist, which position is the reference or normal state, which contacts change in each position, and whether the handle is maintained or spring return. A clear answer to those questions prevents the common mistake of treating a label such as HAND-OFF-AUTO as if it were a complete wiring instruction. The label describes intent; the schematic and contact table define the electrical result.
Read the symbol with its position labels, contact references, and circuit context.
Separate the front legend from the schematic symbol
A front legend is written for the operator. It may say ON/OFF, LOCAL/REMOTE, HAND/OFF/AUTO, or FORWARD/OFF/REVERSE. A schematic symbol is written for the person designing, building, testing, or servicing the circuit. These two views must correspond, but they are not interchangeable. A legend may be brief while the drawing contains multiple contact paths and interlocks.
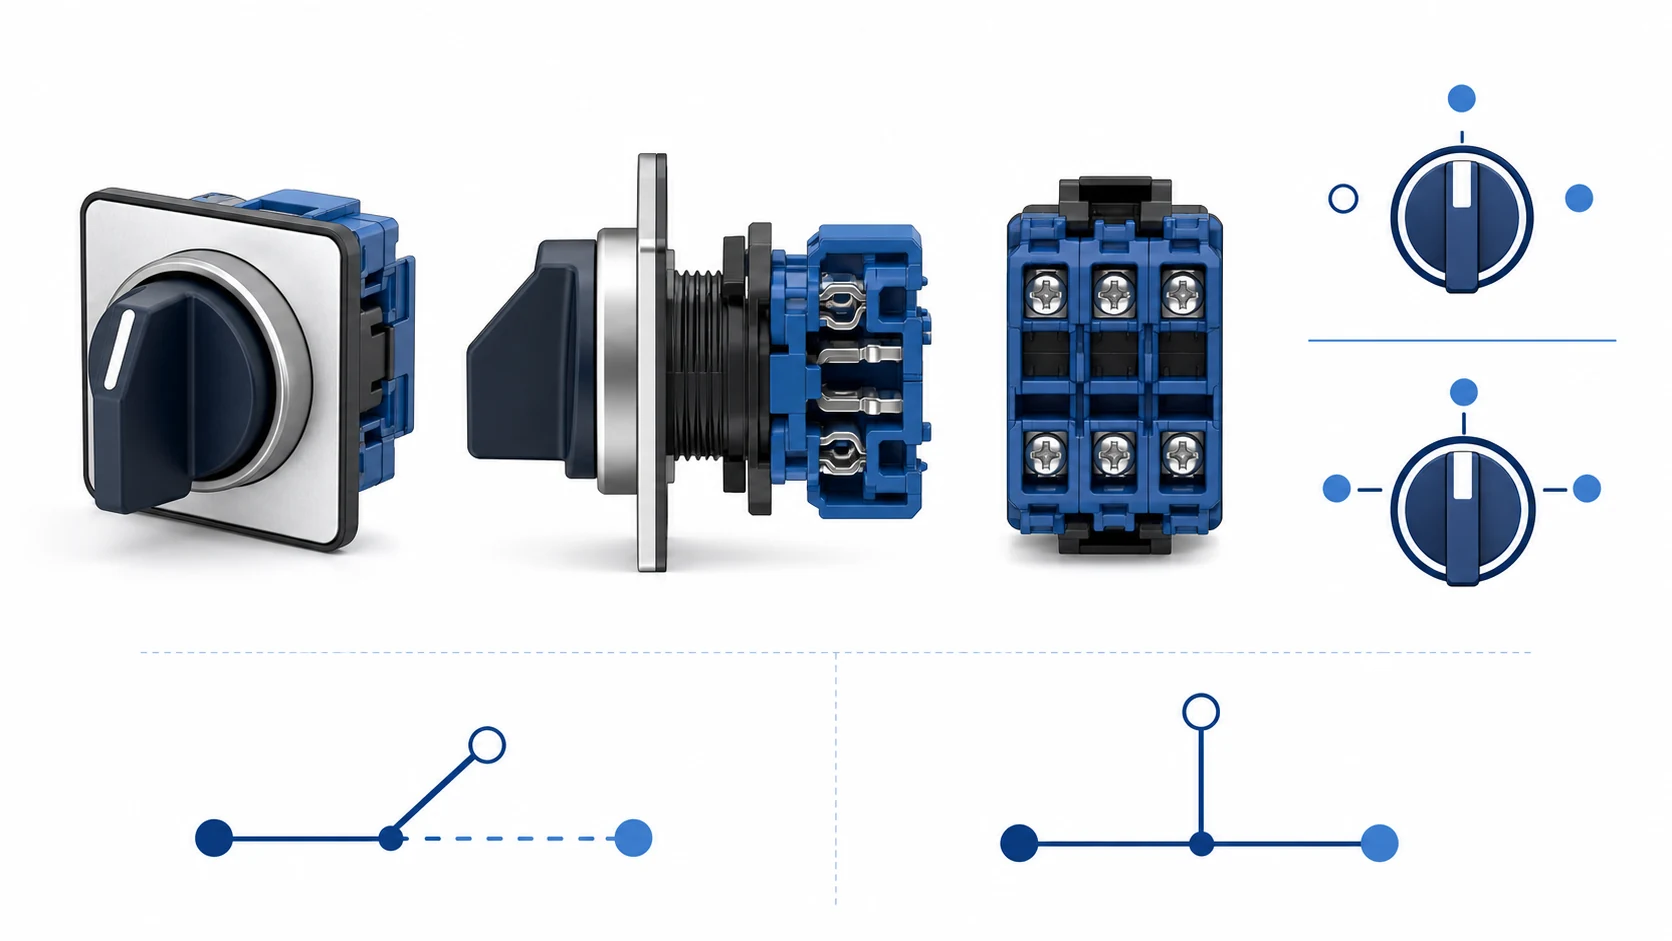
Check the direction convention before reading a three-position arrangement. Some drawings describe left-centre-right movement; others use clockwise positions, numbered positions, or a table keyed to the handle. Do not assume that terminal contact state shown beside a symbol applies in every position. A contact may be open at centre and closed at an end position, or it may transfer between two paths. Use the switching table for the exact programme.
The panel legend should be finalised only after the schematic is approved. Changing a legend late in the build without updating the drawing creates a misleading panel. During factory acceptance or field commissioning, the operator label, the physical movement, and the indicated circuit state should be checked together.
Read contact state and terminal references correctly
NO and NC are contact descriptions in a stated reference condition; the relevant reference condition should be shown by the drawing or product documentation. In a multi-position selector, a contact can have a different state at each position. Terminal numbers identify the actual connection points, while the switching table explains which terminals are connected or isolated as the operator moves. Both are needed for wiring verification.
A symbol may include mechanical linkage marks showing that several contacts are operated by one handle. That does not mean all of them make or break at the same position. For example, one contact can enable an automatic control path while another removes a manual path. A third contact can drive an indicator or PLC input. Trace every contact on the schematic and verify every terminal at the intended handle position.
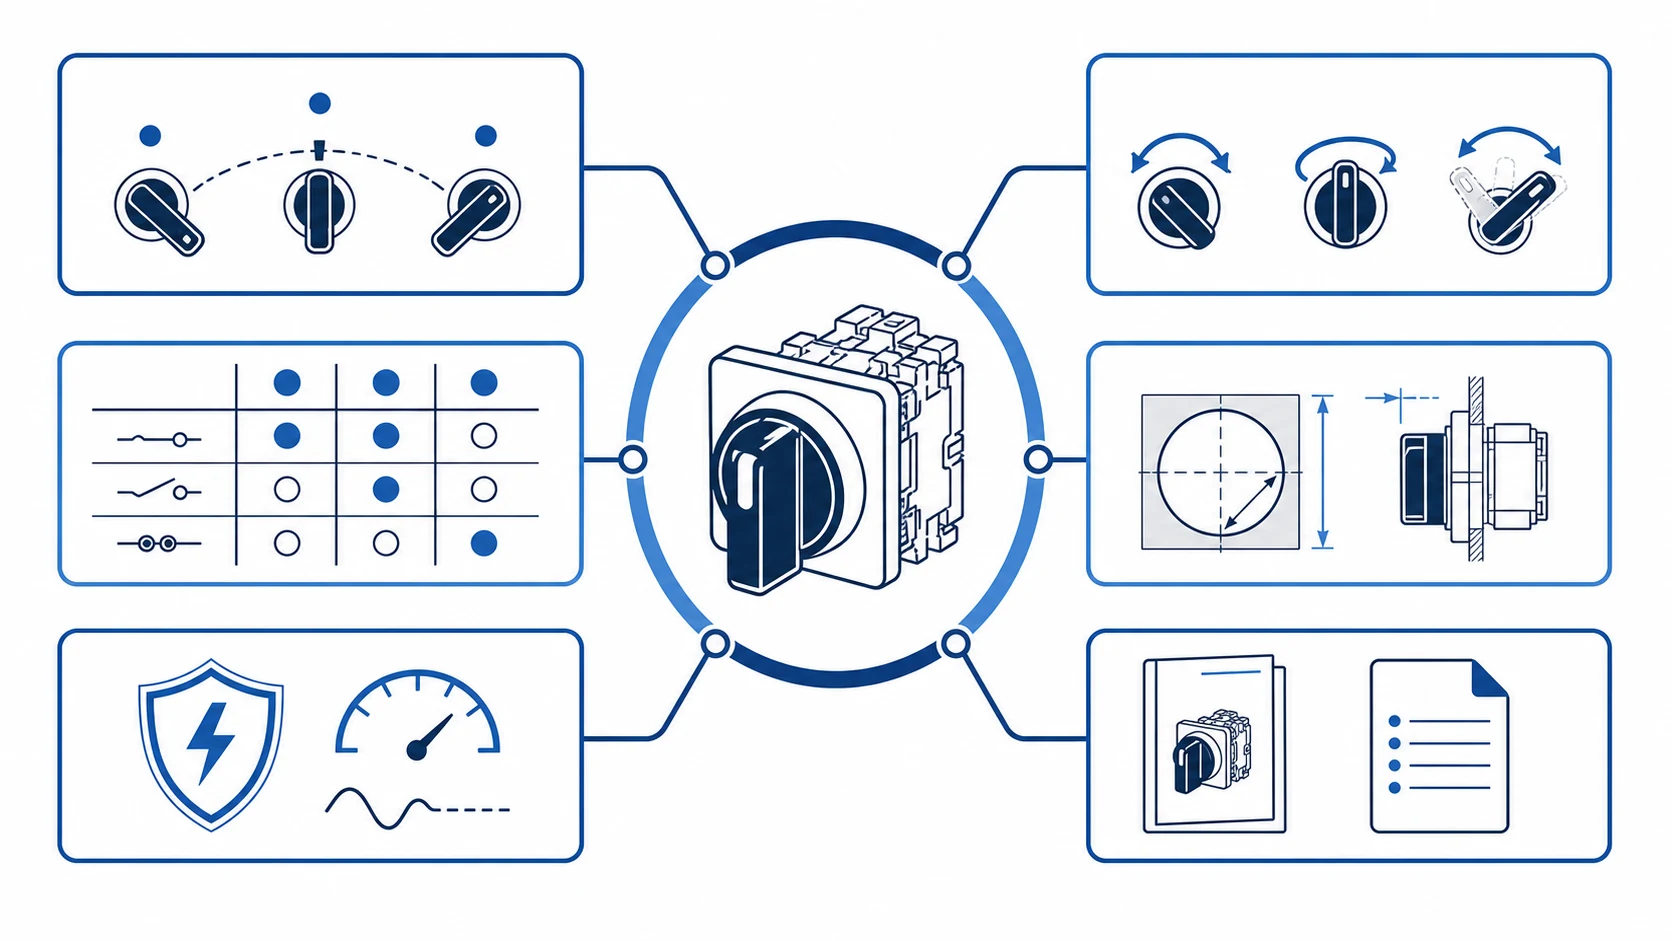
Terminal numbers and the contact table are the bridge between the drawing and the assembled operator.
Сайт NO and NC contact guide can help with basic notation. It should not be used to substitute a model-specific contact table. When the circuit controls motion, stored energy, a safety function, or a high-consequence process, verification belongs in the approved engineering and commissioning process.
Use position tables for two-position and three-position devices
A simple position table is often the fastest way to remove ambiguity. List the handle positions as rows and every relevant contact path as columns. Mark which contact is closed, open, transferred, or momentary at each position. For a two-position LOCAL/REMOTE selector, the table may show one command path active at a time. For a three-position HAND/OFF/AUTO selector, the centre row may show both command paths open. For a spring-return TEST selector, an end row may only apply while the handle is held.
Document item
What to verify
Почему это важно
Position labels
Order and wording match the door legend.
Prevents operator confusion.
Contact table
State of every path at every handle position.
Defines the actual circuit behaviour.
Terminal references
Wire numbers and contact-block terminals match the drawing.
Supports accurate assembly and troubleshooting.
Return action
Maintained or spring-return behaviour is specified.
Prevents unintended latching or missing momentary commands.
Legend plate
Text and position sequence are approved.
Keeps panel operation aligned with the schematic.
Apply symbol checks during panel build and commissioning
Before fitting the operator, compare the bill of materials with the drawing: operator type, number of positions, contact blocks, lamp modules, legend, and mounting arrangement. After wiring, test the contact state at every position using the approved procedure. Do not rely on the final function test alone, because an incorrect contact can appear to work in one mode while failing in another.
During commissioning, record any discrepancy between the symbol and the installed unit. A changed contact block, a reversed legend, or a missing centre position should be corrected in the hardware or in controlled documentation before handover. The selector should also be checked in its installed enclosure; clearance, door alignment, gasket compression, and label visibility can affect practical use even when the schematic is correct.
Use a drawing-to-panel check before energising the completed control circuit.
Choose the right documents when specifying a selector switch
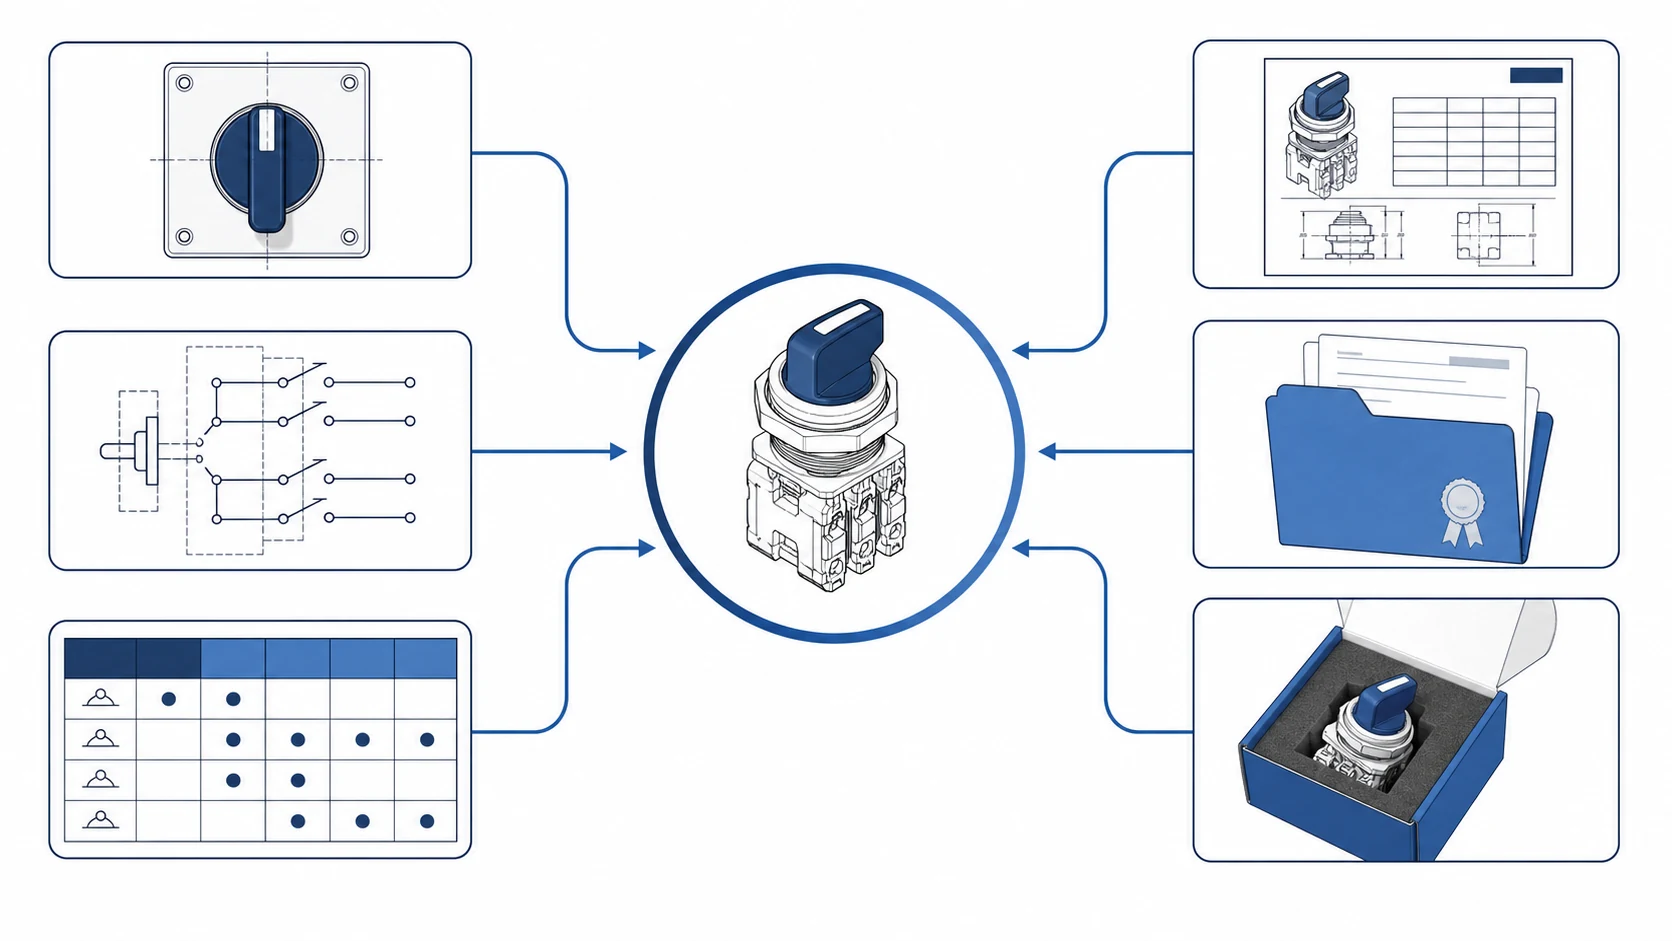
A complete selector-switch request should identify the circuit function, position sequence, maintained or spring-return action, contact programme, voltage and load context, cutout, legend, and enclosure condition. Ask for the dimensional drawing, contact diagram, wiring or terminal reference, and relevant documentation for the exact configuration. This is more useful than requesting a generic “three-position switch” because it gives the supplier enough information to check the correct route.
For Shieldhz configurations, a buyer can send the schematic and legend with a panel photo or cutout dimension. Shieldhz can then check the model route, contact-block combination, operator format, drawing, and available documentation. Product variables such as contact arrangement, ratings, IP condition, and certificate availability are configuration dependent and should be confirmed from the applicable datasheet rather than copied from a broad family claim.
Provide the symbol, position table, and panel details to support a correct configuration review.
Symbols and legend information should remain readable through the equipment life. Use durable marking methods suitable for the installed environment, and place identification where it can be read without removing guards or opening an enclosure unnecessarily. When a panel is modified, update the relevant schematic revision, wire list, legend plate, and terminal references together. A corrected drawing stored separately from an unchanged door label still leaves an operator with conflicting instructions.
For export panels, confirm the language, abbreviation, and symbol convention required by the project rather than translating a legend word for word. The goal is a consistent, approved instruction at the point of use. A short label supported by an accurate drawing is usually safer than an overloaded label that attempts to describe all circuit detail on the door.
Include the final drawing revision in the handover package so maintenance teams can verify all future replacements reliably against the same approved position table.
Frequently asked questions
Is a selector-switch symbol the same as its front-panel legend?
No. The legend tells the operator the intended mode, while the symbol and contact table describe the circuit behaviour.
Why are several contacts drawn for one selector?
One operator can control multiple independent circuit paths, such as a relay command, an indicator, an interlock, and a PLC input.
How do I know which position is the reference state?
Use the approved drawing and product contact table. Do not assume the centre or left position is the reference without documentation.
Can a selector-symbol drawing be used as a wiring diagram by itself?
It needs terminal references, wire numbers, and the complete schematic context. The symbol alone is not an installation instruction.
What should be checked after a selector replacement?
Check the legend, handle action, position sequence, contact state, terminals, circuit function, and controlled panel documentation.
When should a panel builder ask for technical confirmation?
Ask before ordering whenever the contact programme, return action, environmental condition, or required documents are unclear.
Send the symbol and position table with the enquiry
A selector-switch symbol becomes useful procurement information when it is supplied with the position sequence, contact requirement, legend, mounting details, and panel context. Send those items to Shieldhz for a drawing and configuration check before release.
Ши, Мукси
Ши, Мукси пишет технические статьи Shieldhz для покупателей промышленных систем управления и электрических компонентов, охватывая поворотные кулачковые переключатели, разъединители, PV DC разъединители, кнопки, индикаторные лампы, водонепроницаемые корпуса и клеммные блоки. Статьи основаны на опыте производства и экспорта компании Zhejiang Shihe Electric Co., Ltd., с практическим акцентом на выборе модели, технических характеристиках, чертежах, сертификации, рейтингах IP и деталях запроса, которые покупатели должны подтвердить перед заказом.