EV Charger Isolator Switch Enclosure: AC-Side Local Isolation Questions for Equipment Builders
Use a practical buyer checklist to evaluate ev charger isolator switch inputs, documentation, approval controls and the exact weatherproof isolator switch box route.
An ev charger isolator switch enclosure should be selected as an AC-side local isolation interface, not as proof that the complete charger system is compliant. The right choice depends on the exact switch duty, enclosure exposure, cable-entry route, handle access, documentation package and destination-market requirements.
Confirm whether the enclosure is for AC-side local isolation only, and keep overcurrent protection and charger-system compliance outside this selection decision.
Ask for the exact model drawing, datasheet and available certificate package before releasing a panel, cabinet or site-installation design.
Match cable entries, gasket route, mounting position and handle access to the buyer’s installation, not only to a catalog image.
What an EV charger isolator switch enclosure should decide on the AC side
An EV charger isolator switch enclosure should answer one practical question: how the buyer will provide a local, manually operated AC-side isolation point in an outdoor or semi-outdoor equipment layout. It does not validate the charger, the branch design, the upstream protection scheme or the final installation.
This article stays inside that boundary. It focuses on the enclosure, switch route, cable entry, handle access and documentation questions that equipment builders, contractors and distributors should settle before quotation or release.
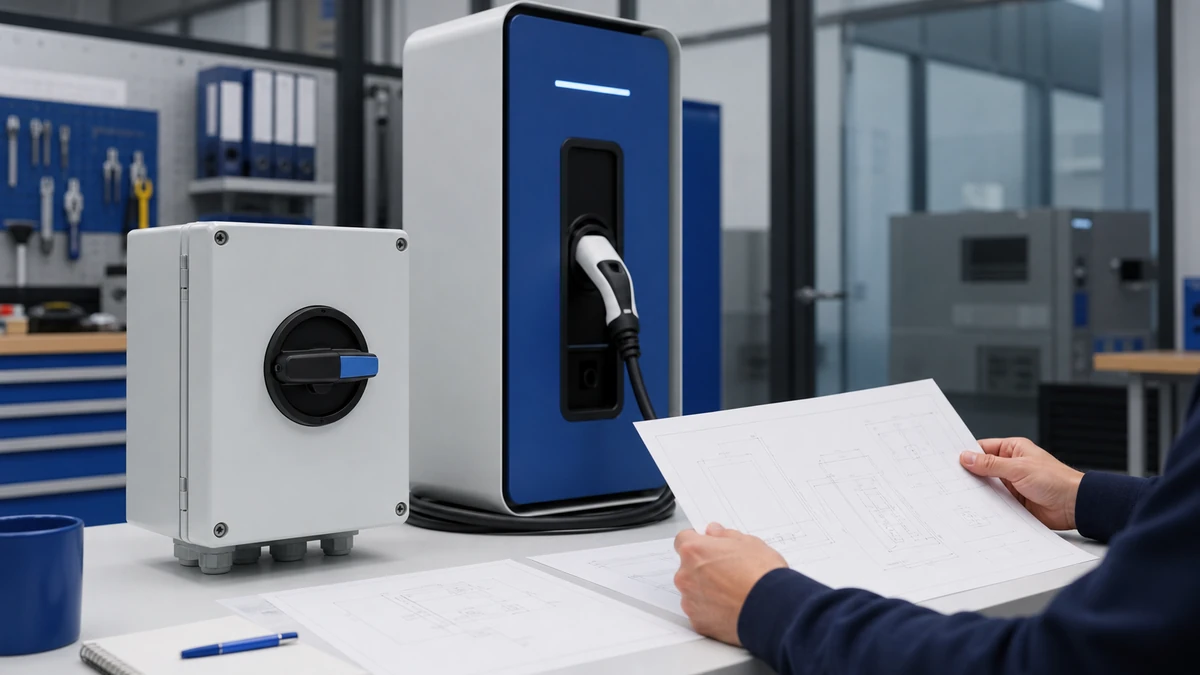
An exact drawing identifies the interfaces that must be controlled for the approved model route.
Boundary of this article
The decision here is AC-side local isolation. If the project involves DC switching, charger-internal architecture, energy metering, communications, load management or complete EVSE certification, those items need separate review.
A selected isolator enclosure also does not replace project-specific electrical design. Ratings, IP class, certifications and application fit depend on the exact product documentation, installation conditions and destination-market requirements.
Where it fits in a buyer’s specification
For an equipment builder, the isolator enclosure is often part of a larger outdoor cabinet, HVAC plant room, pump-panel skid or charging-area support assembly. For a contractor, it may be a local isolation point near the charger position. For a distributor, it is a model-route and documentation-matching task.
A useful specification should identify the AC duty, nominal voltage, current, number of poles, enclosure environment, cable direction and mounting method. It should not rely only on the words “EV charger isolator switch,” because that phrase can hide different electrical and mechanical expectations.
AC-side load and isolation role: what to specify before selecting a model
Specify the electrical role before selecting the enclosure, because an isolator switch route is model- and duty-dependent. The same enclosure style may not be suitable for every voltage, current, pole arrangement or installation condition.
Functional role
Start by writing the role in plain terms. Is it a local manual isolation point for the AC supply to a charger? Is it part of a packaged outdoor equipment assembly? Is it intended to be mounted beside a cabinet, on a wall, or on a support frame?
Avoid mixing roles in one line item. Local isolation, upstream protection, load control and emergency-stop functions are different design questions.
Electrical duty inputs
The quotation request should include voltage, current, poles, frequency and AC duty expectation. If the buyer has any DC-side switching requirement, state that separately instead of assuming it is covered by an AC-side part number.
Buyer input
Why it matters
How to state it clearly
AC or DC duty
Switching duty is not interchangeable by wording alone
“AC-side local isolation for charger supply” or “DC requirement to be reviewed separately”
Voltage and current
Exact model selection depends on documented rating
Provide nominal and maximum design values used by the buyer
Number of poles
Affects switch configuration and enclosure layout
State required pole count from the project design
Mounting location
Influences enclosure, handle access and cable path
Indoor plant area, outdoor wall, cabinet side, frame mount
Documentation need
Affects quotation and approval workflow
Ask for drawing, datasheet and available certificate package
Practical buyer actions:
Separate the isolator enclosure line item from upstream protection and charger certification items.
Provide the exact electrical duty expected from the product.
Ask Shieldhz to confirm suitability only against current product documentation and the buyer’s stated application.
Enclosure exposure and IP rating: how to avoid over-specifying or under-specifying
Choose the enclosure route from the real exposure condition, because IP language is only meaningful when tied to an exact product and installation. A higher-looking number in a brief is not a substitute for checking the model, gasket path, cable entries and mounting orientation.
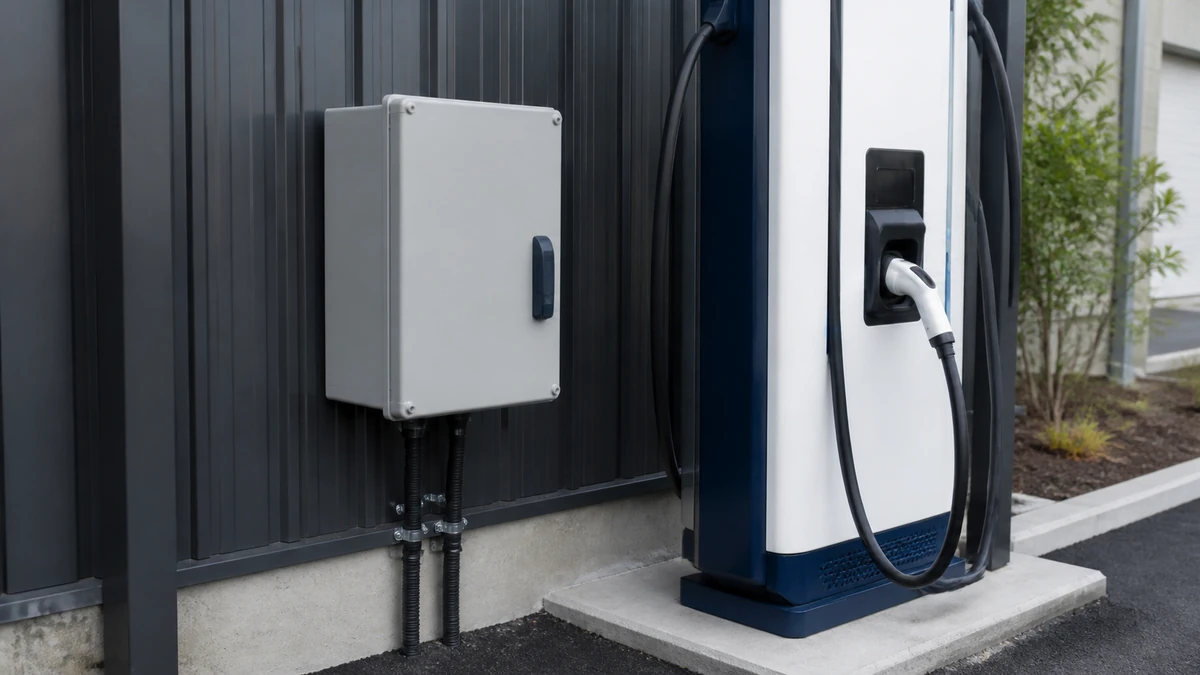
Sample review should connect the exact item to its current drawing and requested evidence package.
Outdoor exposure questions
Outdoor equipment builders should describe rain direction, washdown expectation, dust level, UV exposure, condensation risk and whether the enclosure is sheltered or fully exposed. Contractors should also confirm if the unit will be mounted vertically, under a canopy, on a pole, on a charger support frame or beside another cabinet.
The IP requirement should be treated as a design input, not a universal promise. The installed cable glands, drilled openings, gasket compression, cover condition and mounting practice can all affect the final enclosure performance.
IP evidence boundary
IEC identifies IEC 60529 as the IP Code for degrees of protection provided by enclosures; see the IEC 60529 listing. A rating still depends on the exact product and installation conditions.
For background on what common IP terms mean, use the IP65, IP66 and IP67 enclosure guide rather than treating the number alone as a finished specification.
Checklist for exposure review:
Define sheltered, semi-exposed or fully exposed location.
Confirm the required IP class from the buyer’s project requirement.
Check the exact model datasheet and drawing before approval.
Confirm cable entry method and gasket route together with the IP requirement.
Keep installation workmanship and site orientation in the project review.
Cable entry, gasket and handle access: what equipment builders should lock down early
Lock down cable entry and handle access before quotation, because mechanical details can decide whether the selected ev charger isolator switch enclosure fits the equipment layout. A correct electrical rating can still create rework if the cable path or operating clearance is wrong.
Cable-entry route
Cable entry should be reviewed from the real installation direction: bottom, top, side, rear or a project-specific route. The chosen route must match the enclosure design, the installer’s cable bend space and the buyer’s sealing expectation.
For practical background on these mechanical choices, refer to the weatherproof switch-box cable-entry guide. Use it as a design prompt, then confirm the exact model drawing for the project.
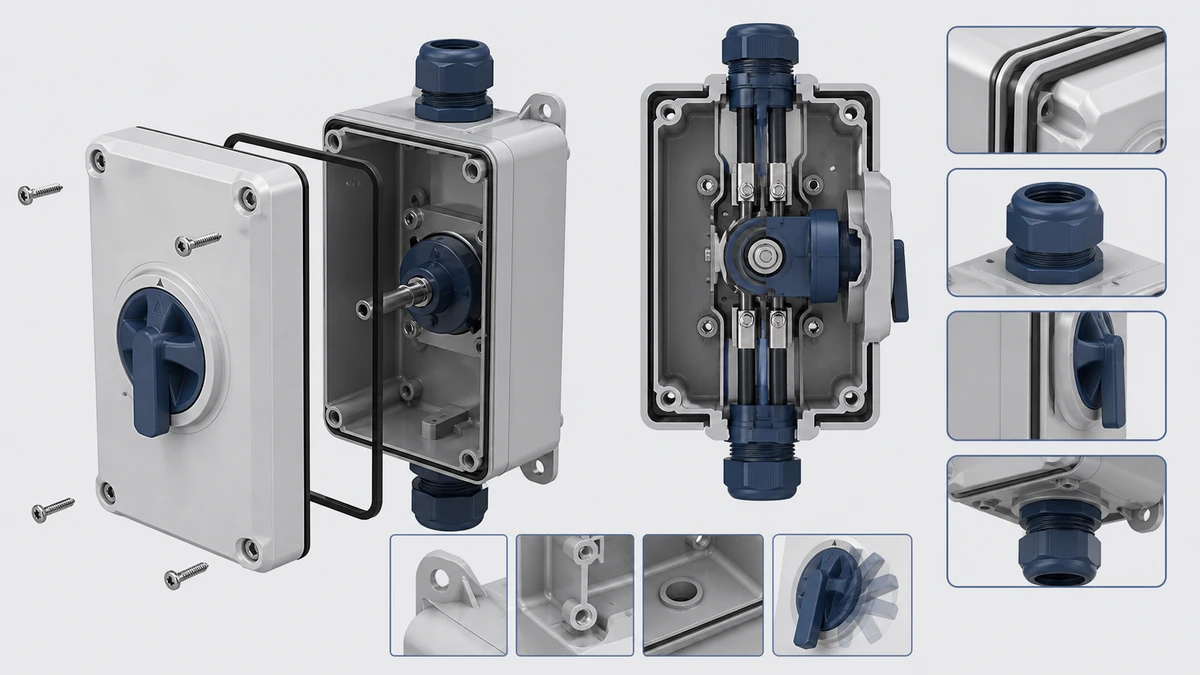
Installation conditions change the product-route and document questions a buyer must resolve.
Gasket, cover and operator access
The gasket route and cover interface should remain compatible with the installed cable entry method. If an opening, accessory or mounting bracket changes the enclosure condition, the buyer should request confirmation for that exact route.
Handle access also matters. The operator must be reachable in the installed position, and any lockable or marked handle requirement should be requested as an exact configuration rather than assumed from a product family name.
Cable-entry and access checklist:
Mark the cable entry side on the layout drawing.
Confirm cable size, gland route and bend space with the installer.
Check that cover opening space remains available after mounting.
Confirm handle orientation and operating clearance.
Request a drawing showing the selected configuration before release.
Product route options: when to use a standard waterproof isolator box versus a documented variant
Use a standard route when the buyer’s duty, exposure and cable path match an available documented model; request a documented variant or closer review when the installation departs from the standard route. The selection should be based on current Shieldhz documentation, not a generic enclosure label.
Catalog route
For early sourcing, buyers can review the waterproof isolator box range to identify possible product families. This is useful for comparing enclosure form, switch route and general layout before requesting a quotation.
For a broader explanation of the product category, use the waterproof isolator box basics. Keep that background separate from the final model approval step.
Model-guide route
If the project is considering the SH30 family, the SH30 weatherproof isolator box guide can help buyers understand the route before asking for exact documentation. Final selection still depends on the live datasheet, drawing and buyer application.
Situation
Likely buyer route
Confirmation needed
Standard AC-side local isolation with known rating
Review standard model route
Current datasheet and drawing
Outdoor wall or cabinet-side mounting
Check enclosure and handle layout
Mounting dimensions and access clearance
Defined IP requirement
Match exact documented enclosure route
Datasheet, installation assumptions and gasket/cable-entry review
Distributor tender package
Match model to buyer specification
Documentation package requested by destination market
Non-standard cable entry or accessory expectation
Request engineering review before quotation
Drawing route and written confirmation scope
How Shieldhz confirms a weatherproof isolator switch box route
Shieldhz confirms a weatherproof isolator switch box route by checking the buyer’s stated duty, enclosure conditions, mechanical layout and documentation needs before quotation. Final suitability is confirmed against current product documentation and the buyer’s application.
Pre-quotation inputs
A practical request should include the load and isolation role, AC/DC duty, voltage/current, enclosure exposure and IP requirement. Because this article covers AC-side local isolation, any DC duty should be flagged separately for review rather than assumed.
The request should also include the cable entry and gasket route, mounting method and handle access requirement. These inputs help prevent a mismatch between the electrical selection and the physical installation.
Documents to request
Ask for the model drawing, datasheet and available certificate package required for the buyer’s approval workflow. The exact package may vary by model, destination market and current product documentation.
Pre-quotation action list:
State: “AC-side local isolation for EV charger supply” or define another role clearly.
Provide voltage, current, pole requirement and frequency.
State whether any DC switching duty is involved.
Describe indoor, sheltered outdoor or exposed outdoor location.
Provide IP requirement from the buyer’s specification.
Mark cable entry direction and gasket expectations.
Confirm mounting position and handle access.
Request the drawing, datasheet and certificate package needed for approval.
Installation interface questions for panel builders, contractors and distributors
Confirm the installation interface before purchase, because the same enclosure may be acceptable on paper but awkward in a cabinet, wall or field layout. Mounting space, handle reach, cable bend radius and documentation format are commercial decision points, not afterthoughts.
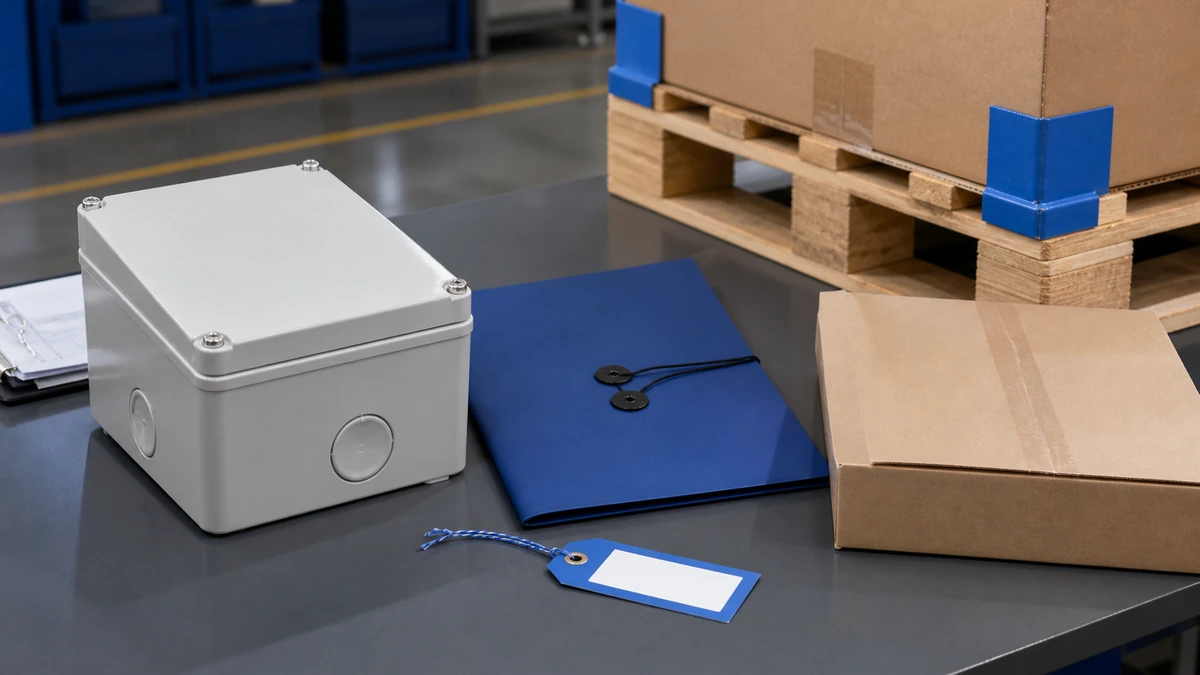
Documentation control, sample acceptance and protective packing are separate handover checks.
Mounting and service access
Panel builders should check whether the isolator enclosure mounts on a cabinet side, internal backplate area, skid frame or separate wall bracket. Contractors should check the actual working height, approach direction and obstruction around the handle.
Service access should be considered without turning the isolator into a broader safety claim. The buyer must confirm that the selected position supports their operation and maintenance method.
Distributor and procurement review
Distributors often need a part number, datasheet, drawing and certificate package before they can quote into a tender or reseller channel. They should also confirm destination-market documentation requirements early, because available documentation is exact-model dependent.
Procurement teams should avoid approving only by photo. A photo can help identify the product family, but the purchase decision should be tied to model documentation and the buyer’s stated use.
Procurement checklist:
Confirm exact part number or proposed model route.
Attach the buyer’s electrical and enclosure requirements.
Request current drawing and datasheet.
Ask what certificate package is available for that exact model.
Confirm packaging, labeling or documentation needs separately if required by the buyer.
Do not treat a product-family page as final project approval.
Emergency-stop-style operators and local isolation: what not to assume
Do not assume that an emergency-stop-style operator makes the complete machine or charger installation safety function valid. Selecting an operator, enclosure or isolator does not validate a complete machine safety function.
Operator appearance versus safety function
A red/yellow operator or prominent handle may be requested for visibility or local operating preference. That visual choice is not the same as proving a safety-related control function.
If the buyer needs an emergency-stop function, the complete safety architecture, risk assessment, wiring method, validation and applicable standards review belong outside the enclosure-only selection. The isolator enclosure can be one component in a wider design, but it cannot certify that design by itself.
Questions to ask before using emergency-stop language
Use precise wording in the quotation request. If the requirement is only local AC isolation, say that. If the requirement is part of a safety function, state that separate safety validation will be handled by the buyer or their appointed designer.
Decision prompts:
Is the operator only for local isolation, or is a safety function being claimed?
Who validates the complete safety function?
Does the buyer require a specific color, marking or handle type?
Is the documentation request for the component only, or for a wider system file?
Has the buyer separated local isolation from emergency-stop validation?
Conclusion
An ev charger isolator switch enclosure is a focused AC-side local-isolation decision. The best commercial result comes from specifying the electrical duty, enclosure exposure, IP requirement, cable route, gasket path, mounting position, handle access and documentation package before quotation.
Shieldhz can help route the buyer toward a weatherproof isolator switch box option, but final suitability depends on the exact model documents and the buyer’s application. Keep charger-system compliance, upstream protection design and any complete safety-function validation as separate project decisions.
Frequently Asked Questions
Is an EV charger isolator switch enclosure the same as charger compliance?
No. It can be selected as an AC-side local isolation component, but it does not prove that the complete charger system or installation is compliant. Charger compliance depends on the full equipment design, installation rules and destination-market requirements.
What information should I send before asking for a quotation?
Send the load and isolation role, AC/DC duty, voltage, current, pole requirement, enclosure exposure, IP requirement, cable entry route, mounting position and handle access needs. Also state the drawing, datasheet and certificate package required for buyer approval.
Can I choose only by IP rating?
No. IP language must be tied to the exact product and installation conditions. Cable entries, gasket route, mounting orientation and site workmanship should be reviewed with the datasheet and drawing.
Can the isolator enclosure provide overcurrent protection?
No. Do not treat the isolator switch enclosure as overcurrent protection. Overcurrent protection is a separate design item handled elsewhere in the electrical system.
Does a red or emergency-stop-style operator validate a safety function?
No. Selecting an operator does not validate a complete machine safety function. If the buyer requires an emergency-stop function, the full safety design and validation must be reviewed separately.
What documents should procurement request from Shieldhz?
Request the current model drawing, datasheet and available certificate package for the exact product route. The available documentation and final suitability depend on the model, destination market and buyer application.
Shi, Muxi
Shi, Muxi writes Shieldhz technical articles for industrial control and electrical component buyers, covering rotary cam switches, isolator switches, PV DC disconnects, push buttons, indicator lights, waterproof enclosures, and terminal blocks. The articles are based on Zhejiang Shihe Electric Co., Ltd.'s manufacturing and export experience, with practical emphasis on model selection, datasheets, drawings, certifications, IP ratings, and inquiry details buyers should confirm before ordering.